If I’ve talked about Japanese Milk Bread (Shokupan) before, forgive me, but it’s an all-time favorite. It’s my go-to when I have a craving for some buttery toast with breakfast, some French toast with berries and lemon drizzle, or maybe a BLT (extra bacon, of course) or PB&J. So adaptable, and so good.
The advent of the COVID pandemic, with it’s companion ‘hits’ of staying in and supply-chain shortages in grocery stores, sent me on a search for shelf-stable commodities, particularly in staples. Non-fat dry milk, whole dry milk, powdered egg whites, powdered whole eggs, dried onions (or onion powder), garlic powder, dried peppers, etc., all found their way into the pantry, and over time I make a concerted effort to cook with them.
Japanese Milk Bread was something I’d seen and heard of, but until I took a day-long bread ”boot camp’ at The Chopping Block, I had never made it; I had the mistaken belief that something that good looking (and good tasting, as it turned out) had to be so labor intensive that it took days of psyching myself up to do it. As is usually the case with a good cooking class, the dread vanished, and I find making it easy, fun, and rewarding.
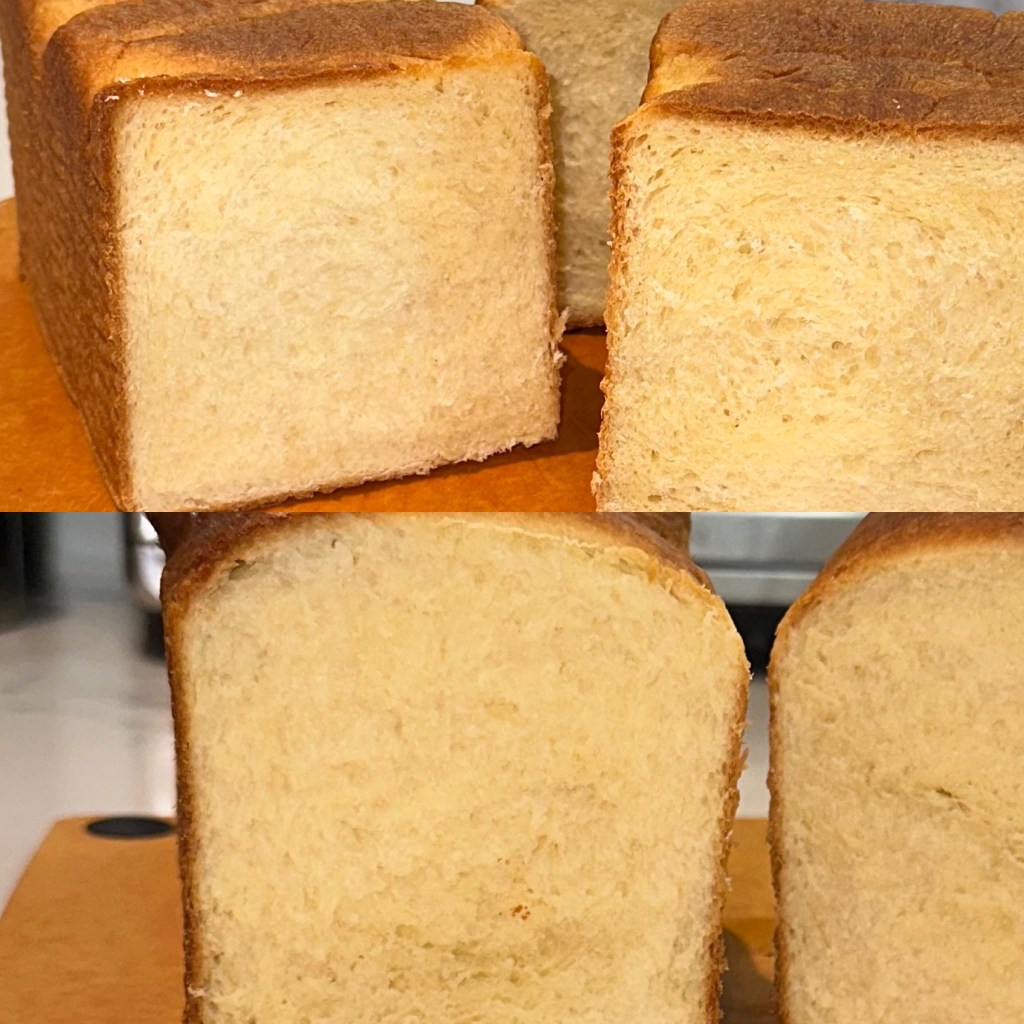
As the name suggests, Japanese Milk Bread has milk in it, both liquid whole and non-fat dry. The first couple of times making it outside of ‘boot camp’, I stuck to the recipe. Recently, however, I decided it was time to try using reconstituted powdered whole milk, just to see if it made a difference. If you can tell a difference in the resulting product from using reconstituted powdered whole milk as opposed to liquid whole milk in the picture above, well be sure to comment and let me know what gave it away. I can’t tell a difference at all; and the same goes for taste. No difference.
The list of ingredients might seem mildly overwhelming by comparison to some bread recipes, and the instructions for preparation can seem daunting, but that’s misleading. With everything out and ready (a robust mise en place), there is a flow to the preparation and baking that is extremely comforting. And if you clean up as you go, by the time your loaf comes from the oven, there’s noting but clean counter space waiting for the star to make it’s entrance. Can you tell I like making this??? Come along, and let’s make some together.
Japanese Milk Break (Shokupan)
Recipe courtesy The Chopping Block, Chicago
Japanese Milk Bread starts with a water-base roux called ‘tangzhong’ (method), or ‘a tangzhong’ (the product). It takes more of a food scientist than I to know how it does what it does, but tangzhong not only makes this bread softer, it also magically extends its shelf life. Again, don’t ask me how, just enjoy the benefits. Let’s get started.
INGREDIENTS
For the tangzhong:
1/4 cup water
1/4 cup whole milk (or you can use 1/4 cup of reconstituted whole milk from powder)
2 tablespoons plus 2 teaspoons bread flour
For the dough:
2/3 cup whole milk
4 teaspoons active dry yeast
3-1/3 cups bread flour
3 tablespoons nonfat dry milk (I’ve not tried this with dry whole milk, so I’d say stick with it as presented)
1/3 cup granulated sugar
1 large egg plus 1 egg yolk
5 tablespoons unsalted butter, melted (see NOTES)
1-1/4 teaspoons fine sea salt
To finish (optional):
2 tablespoons heavy cream
Directions:
To make the tangzhong, combine all of the ingredients in a small saucepan, whisking until no lumps remain.
Place the saucepan over low heat and cook the mixture, whisking constantly, until thick and the whisk leaves obvious lines on the bottom of the pan (it will look like somewhat loose creamy mashed potatoes). This should take 3-5 minutes.
Transfer the hot tangzhong to the bowl of a stand mixer, add the 2/3 cup whole milk, and stir briefly to break the tangzhong into smaller hunks.
Add the yeast and 1/2 the flour to the bowl and knead briefly with the dough hook attachment.
Add the dry milk, sugar, eggs, and melted butter; mix to combine.
Add the remaining flour, followed by the salt, and continue kneading the dough on medium speed until a soft, slightly sticky dough is formed. This should take a good 15-20 minutes. (see NOTES) While a good part of the dough will be clinging to the dough hook, the dough will still be clinging to the bottom of the bowl, and will not completely pull away from the bottom and sides of the bowl.
Shape the dough into a ball, and let it rest in a lightly greased bowl, covered, for 60-90 minutes, until nearly doubled in size.
Gently deflate the dough and divide it into 6 equal pieces.
Roll each piece of dough into a 4″ x 8″ rectangle, then fold it in thirds like a letter. Roll each of the folded pieces into a rectangle again, this time about 4″ x 6″, and, starting with a short end, roll them into a 4″ log. Pinch the seams firmly to seal the logs closed.
Place the logs in a row of six – seam side down and side by side – in a lightly greased 4″ x 13″ Pullman loaf pan. (see NOTES)
Cover the loaf with plastic wrap and allow it to rest/rise until approximately doubled in height. This should take about 40 minutes.
Toward the end of the rise, preheat the oven to 350 degrees.
To bake, brush the loaf with heavy cream (see NOTES) and bake until it is golden brown, and a digital thermometer inserted into the center reads at least 190 degrees. This should take 35-40 minutes.
Remove the loaf from the oven and cool it in the pan until you can transfer it safely to a rack to cool completely.
NOTES
Until I first made this bread, I think I had over-kneaded when using my stand mixer with the dough hook, and that was because I took to heart instructions that called for kneading until the dough no longer clung to the side of the bowl. In the ‘boot camp’ I attended, we made/baked 4 different breads, and for all four, the kneading process was complete when the dough was still clinging to both the dough hook and to the bottom of the bowl, as shown in the video. This is just a caution – don’t over-knead.
A pullman loaf pan usually comes with a lid. I’ve made this bread both using the lid, and without. If you choose to bake without the lid, that’s when you want to brush the top with the heavy cream, before you put the bread in the oven. If you choose to use the lid, (1) don’t forget to grease the underside of the lid before putting it on, and (2) you can expect a loaf that is essentially a slightly squat rectangle, looking most like the “Wonder Bread” of yesteryear. Your choice.
The butter and eggs are what gives the bread its hue; and the butter, I suspect, is what gives the bread it’s brioche-like crumb. Keeping that in mind, this dough, just as it is, can be used to make hamburger buns, and can also be used to make dinner rolls. Those variations are on my list, but if I had to guess, I’d say 6-8 hamburger buns, and 12 dinner rolls. In either instance, roll the dough into a ball using your cupped hand. For buns, put them on a parchment lined sheet pan, flatten slightly, cover, and let rise for about 30 minutes. Brush with cream or milk before baking. For dinner rolls, place them in a 9″ round or square pan, let them proof for about 30 minutes, and again, brush with cream or milk before baking.

Leave a reply to Nancy Diebolt Cancel reply