If only you knew how long and hard I’ve tried to get to the point of creating a pastry case (pie or tart shell) like this! It took a while, for sure, but one day a tutorial by a winner of the Great British Bake-Off popped up, and something told me that it’s the one. So far, that’s held true. If you want the full tutorial, you need to start here, then go here, and then here. If there’s an easier way, I’ll edit this when I find it. This makes one 9-inch pastry case. Need an alternative approach? Look here.
Let’s do this!
INGREDIENTS
200g all-purpose flour (you can substitute GF, but add 1/4 tsp xanthan gum if not already in the blend)
1/2 tsp salt
30g powdered sugar (icing sugar)
100g butter (slightly over 7 Tbsp), cold and cubed
1 egg yolk (save the white for washing)
1-2 Tbsp cold water
DIRECTIONS
Combine the flour, salt, and powdered sugar in a bowl, whisking to fully combine.
Add the cold, cubed butter, and using your hands, a pastry cutter, or a food processor, work the butter in until you have a sandy looking mixture. I find a food processor works best, putting the mixture in a separate bowl to finish the process.
Add the egg yolk and 1 tablespoon of cold water, and using your hands, combine. What you want is a dough that holds together when compressed, but is not like a bread dough. If it’s not coming together, add another tablespoon of cold water.
Once the dough has come together, knead it just enough to form it into a disk, wrap it in cling wrap, and put it in the fridge for about 30 minutes.
When ready, remove the disk from the fridge and place it on a floured working surface. Sprinkle a little flour on the top, as well.
Roll the dough into a 12″ circle. During this process, keep turning the dough so that it’s not sticking to the work surface, dusting with more flour as needed. Place your pie/tart tin on it, and cut it so that you have 1-1/2 – 2 inches all the way around. Don’t discard the excess just yet.
Roll the dough onto your rolling pin, removing extra flour as you go, then unroll it over the pie/tart tin.
Working from the outside of the dough, work the dough into the tin, into the corner, and up the sides. You should have a bit of excess all around.
Now, take some of the dough you cut away, form it into a ball, dust it with flour, and use that as a tool to work your way around the pie/tart tin, ensuring that the dough is firmly into the corner and the flutes around the edge. To me, this was one of the more ingenious hacks from the tutorial.
Put the pie/tart tin in the fridge while you preheat your oven to 360°, with convection, if you have it.
Using a fork, pierce, or ‘dock’ the bottom of the pie/tart tin all over to inhibit rise.
Using a knife or small offset spatula, trim the excess dough so that the top edge of the shell is smooth and flat all the way around.
Severely crumple a piece of baking parchment, then uncrumple it and spread it on the bottom and up the sides of the pie/tart, then fill it with pie weights, rice, or dried beans.
Bake for 20-23 minutes, remove from the oven and remove the parchment and weights. Don’t turn the oven off just yet.
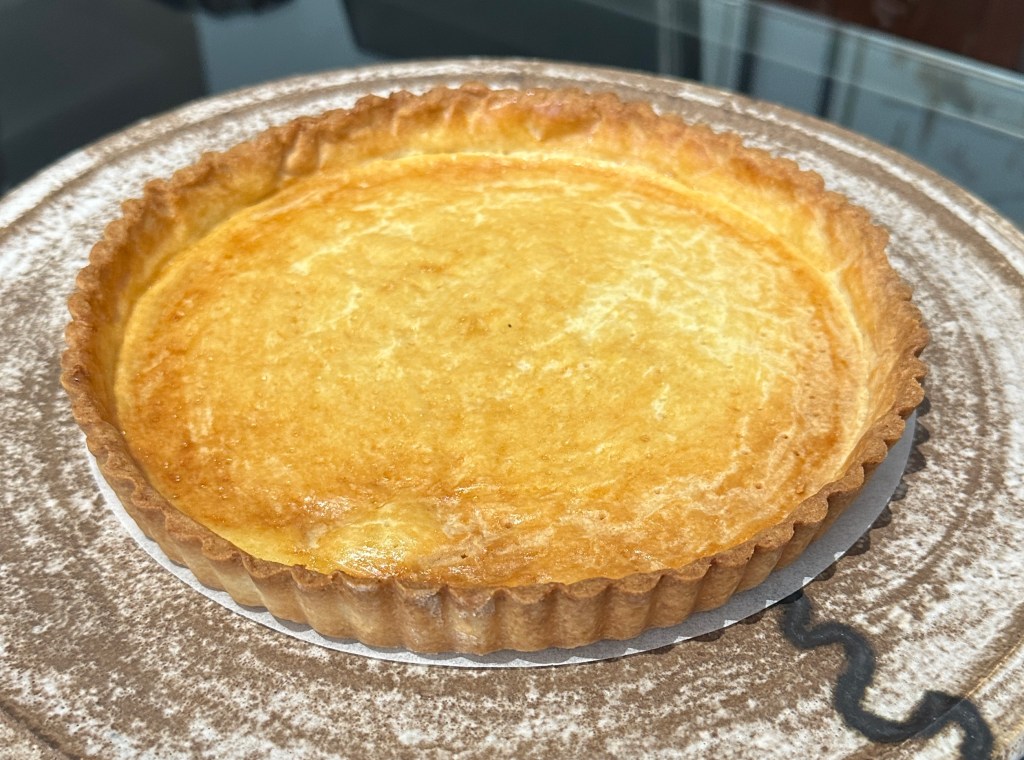
Brush the inside of the pie/tart shell with the egg white (beaten to ensure smoothness), then return the shell to the oven for 7-10 minutes, until a golden brown. This egg white step ensures no soggy bottom.
Remove from the oven and allow to cool. It’s ready to go!!!
